遊び方
pictSQUAREは仮想空間で、
同人即売会を行えるサービスです。
遊び方については以下よりご確認ください。
イベント主催者が出展する場合もサークル参加が必要になります。
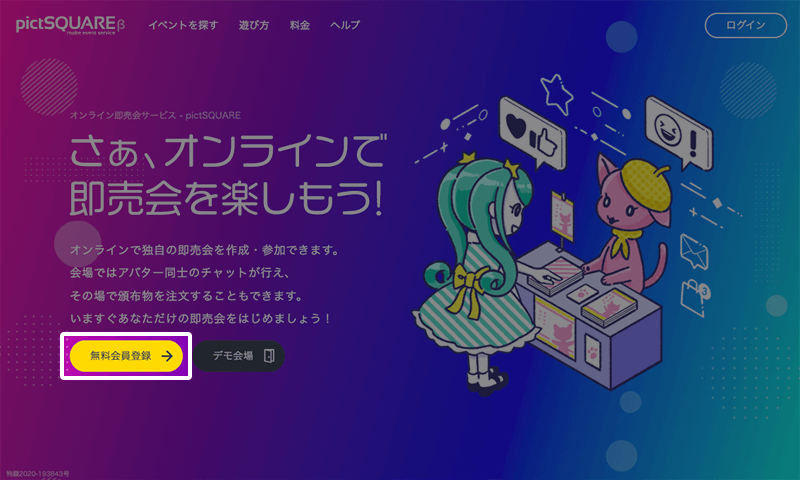
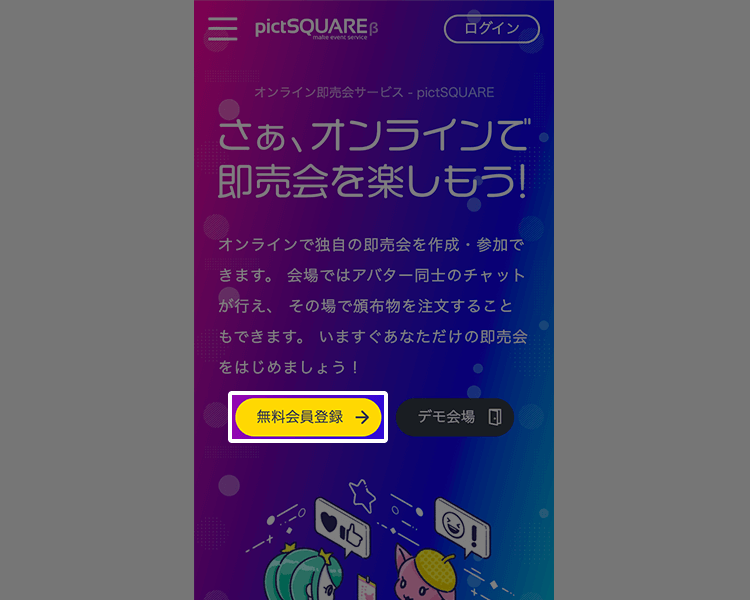
- STEP1 会員登録
-
-
- STEP2 店舗(通販サイトなど)を準備する
-
-
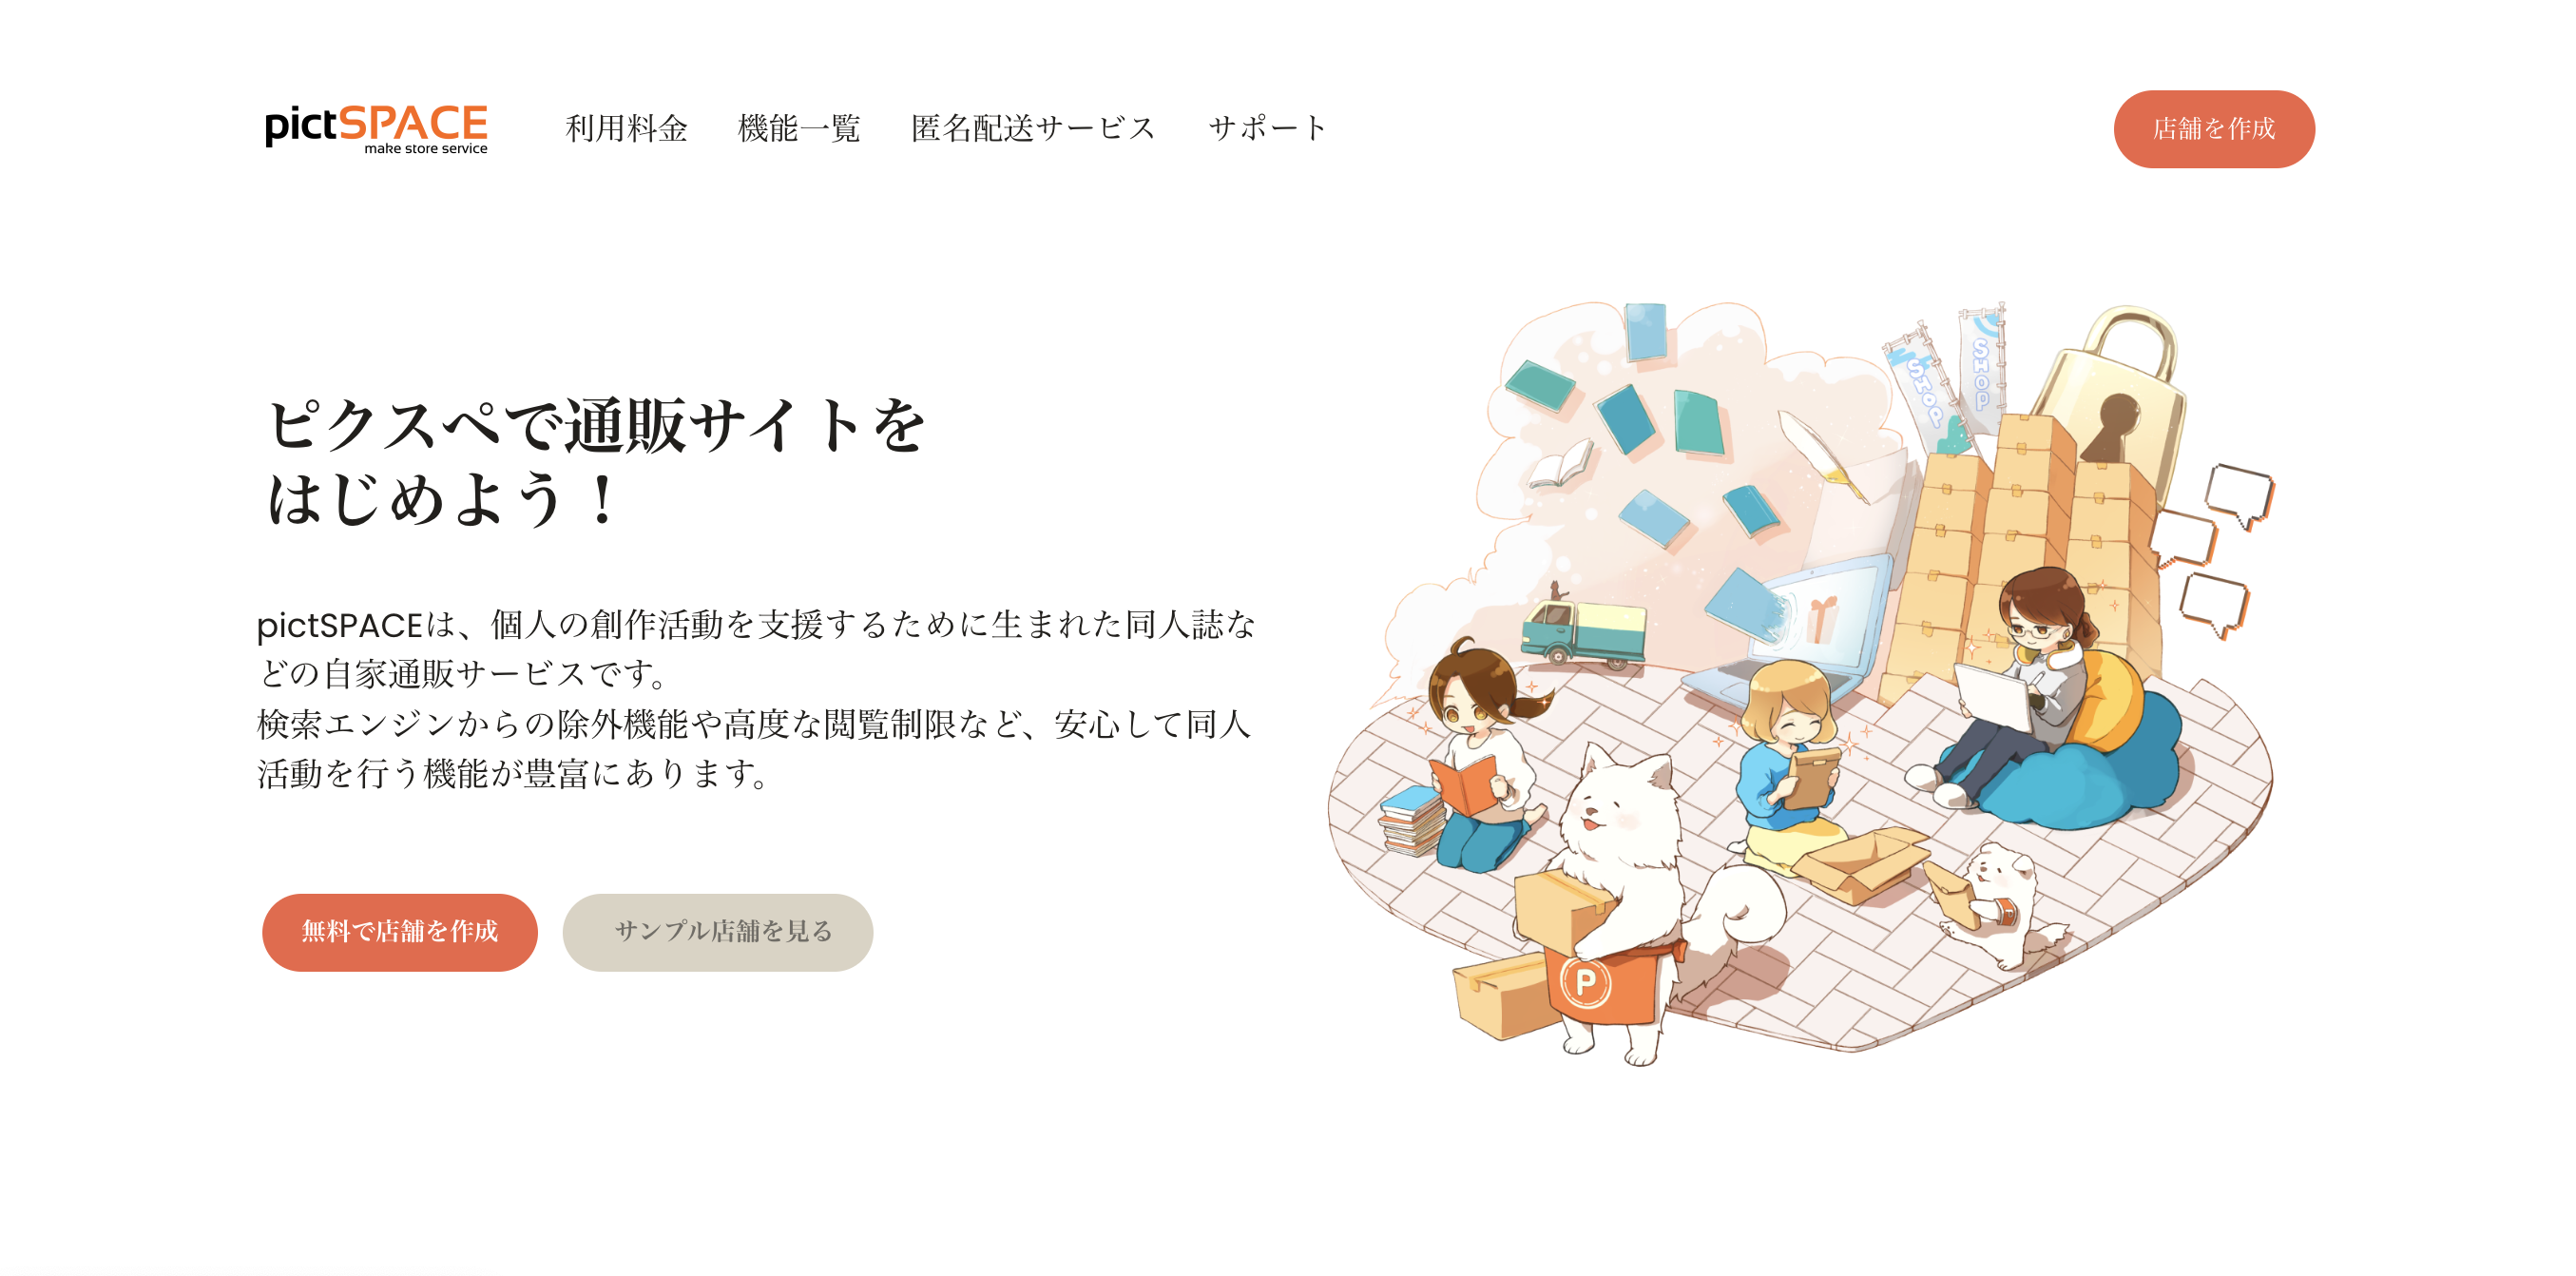
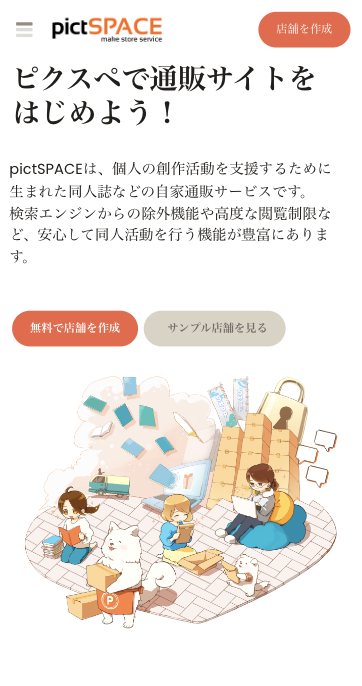 通販の準備
通販の準備販売を行うためには通販サービスの準備が必要となります。pictSPACEを利用することで、購入者は会場内で商品の購入まで円滑に行えます。
参加はご自身のプロフィールURLやXのURLなどでも可能です。 -
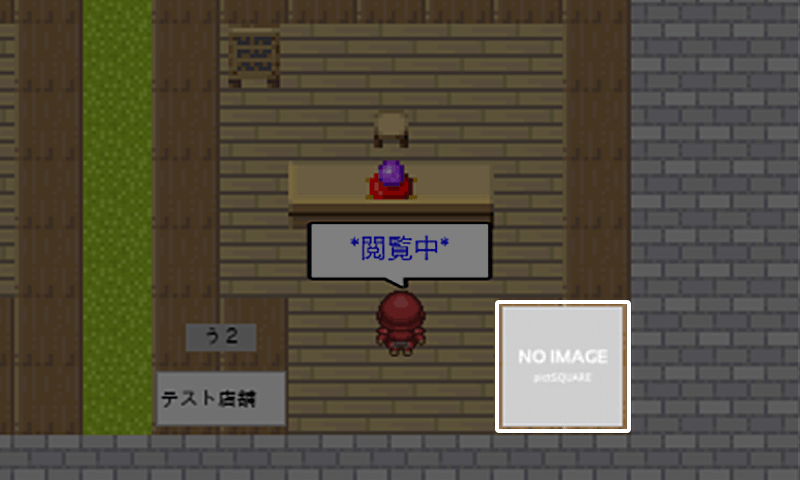
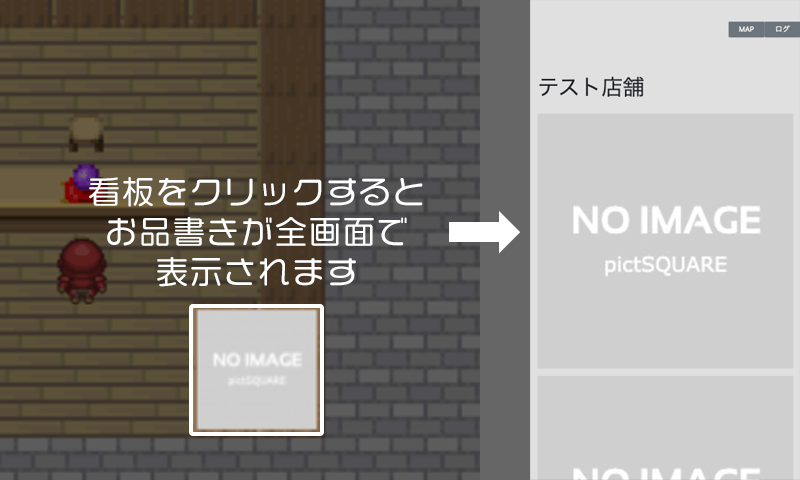
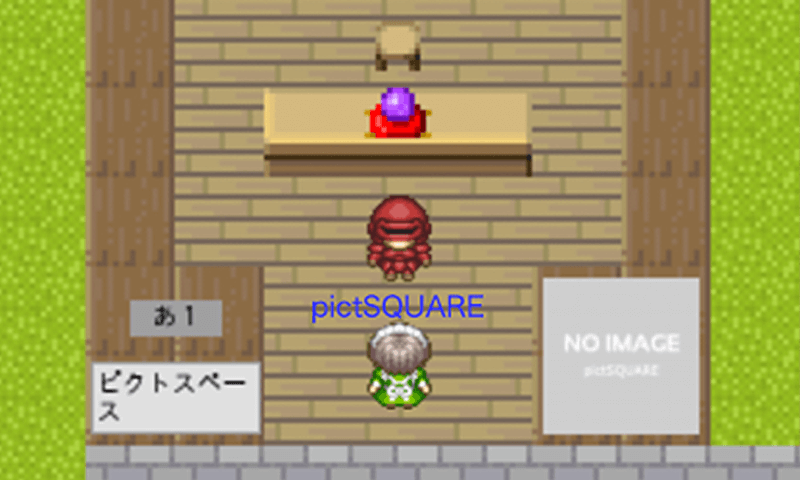
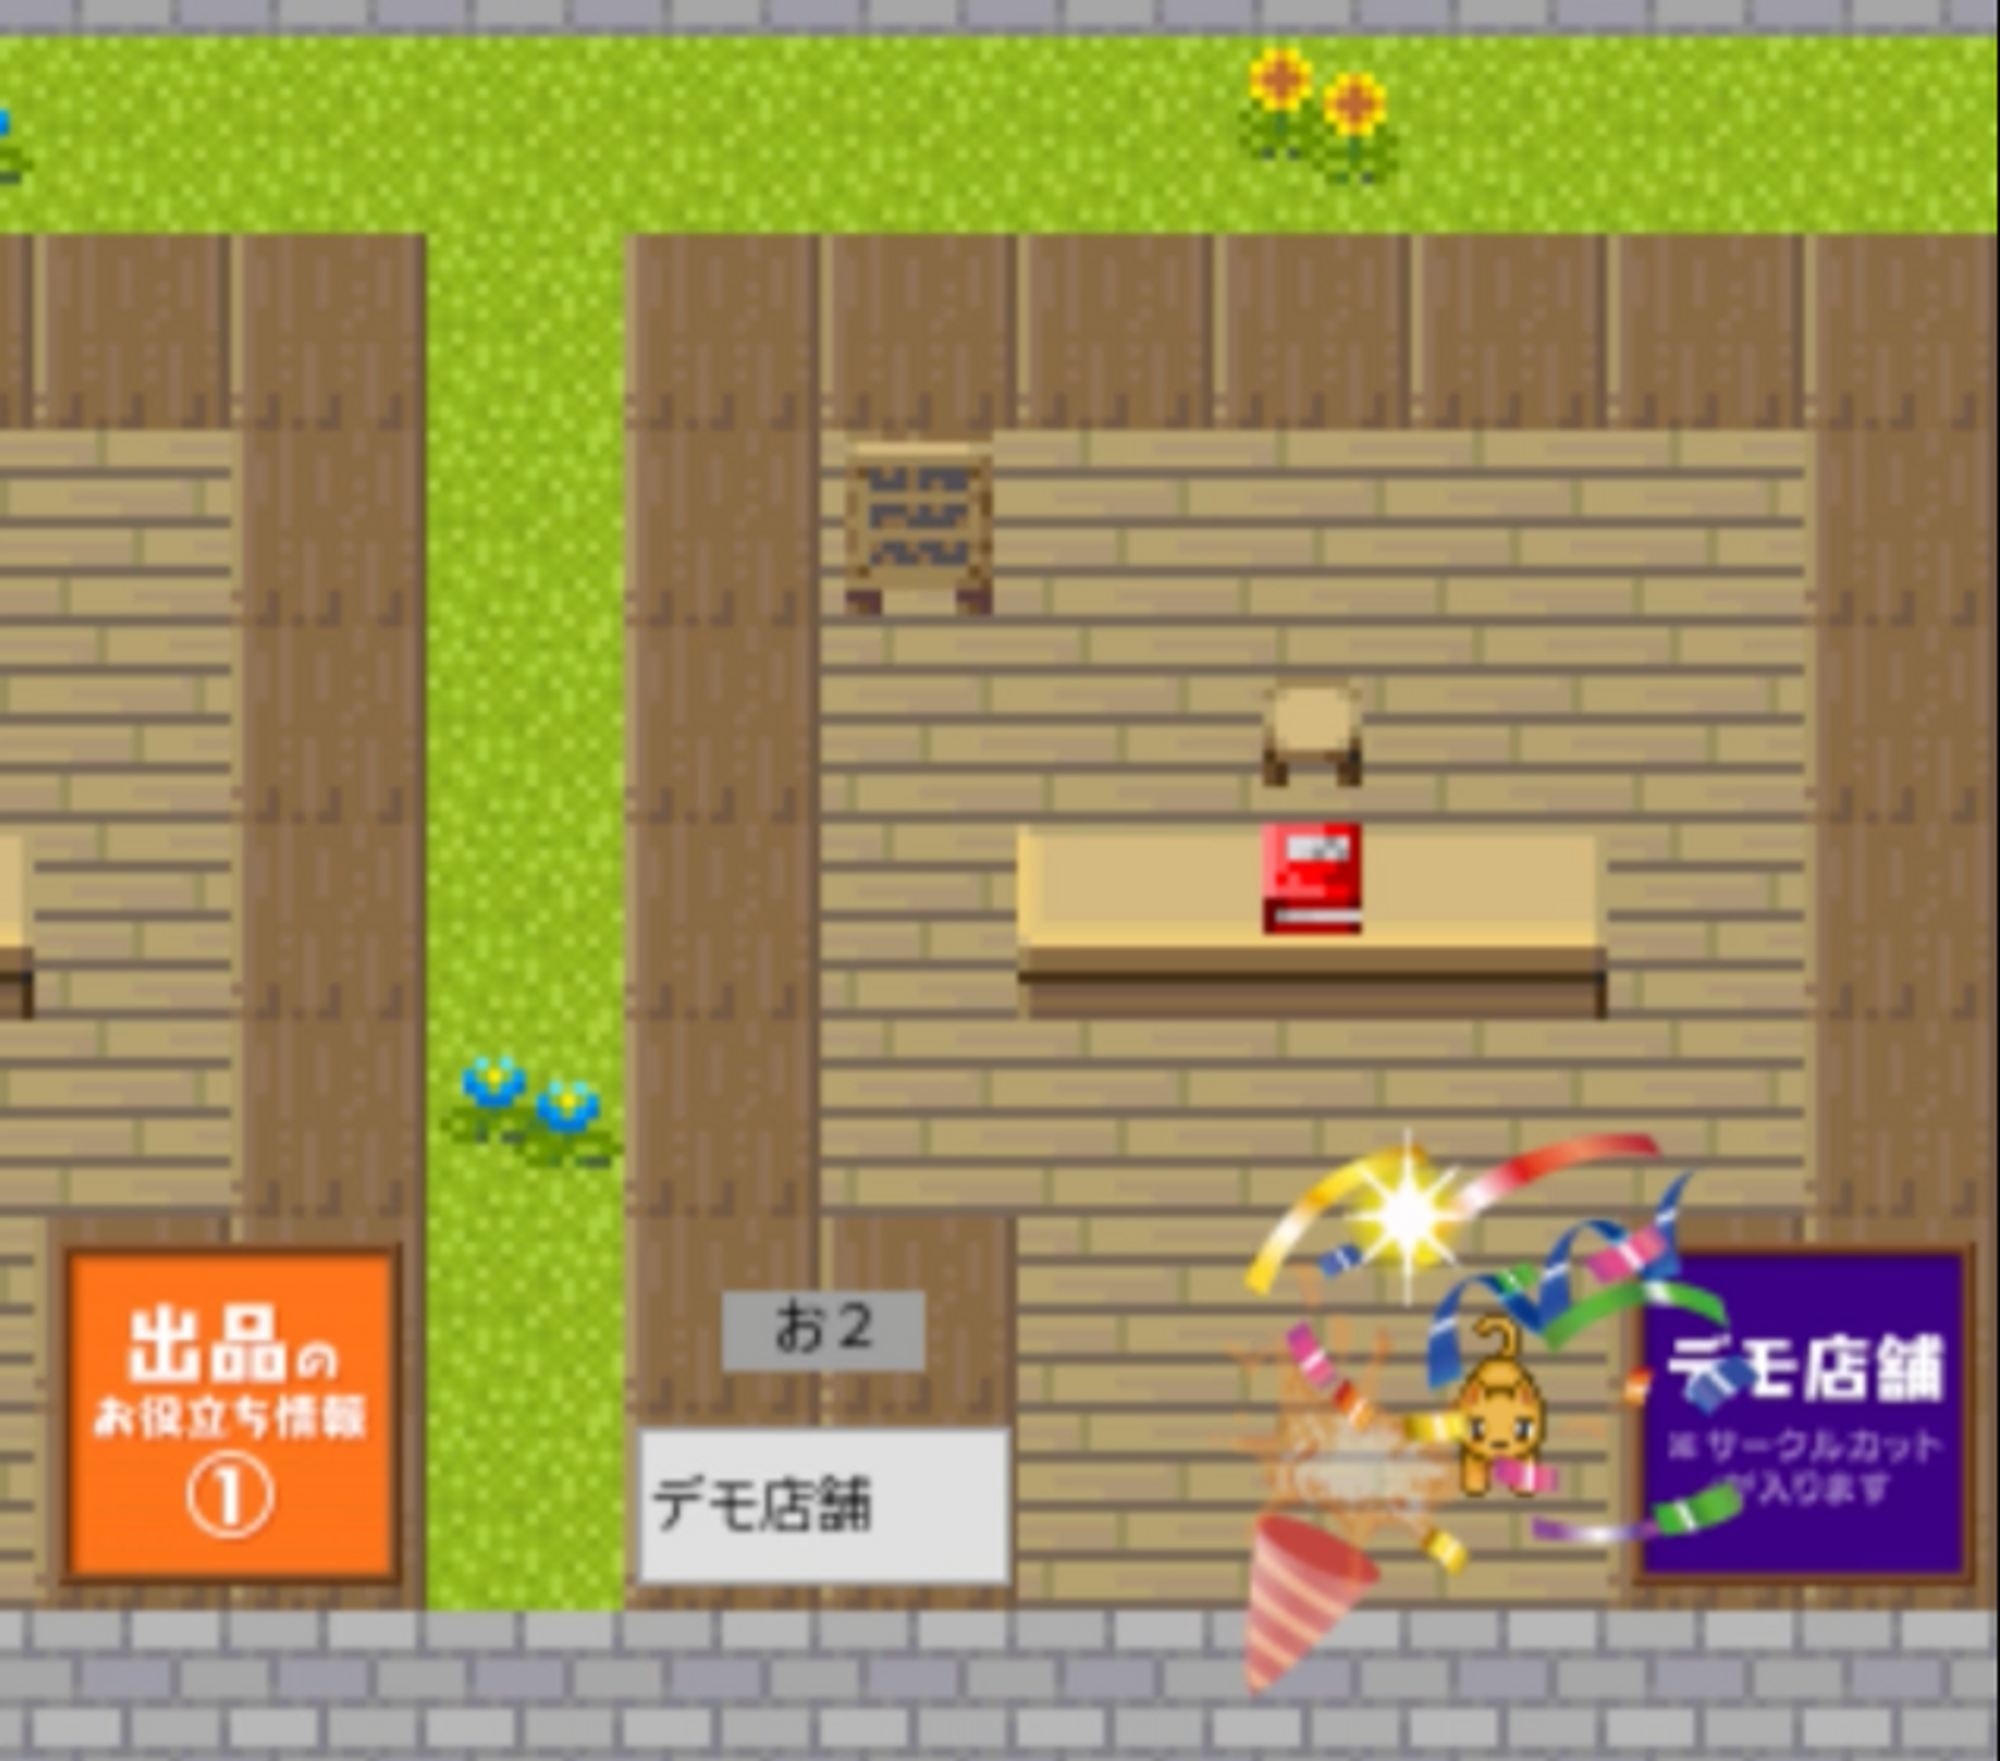 会場内を見て回る
イベント会場では、各サークル(店舗)でお品書きを確認したり、頒布物の購入・コミュニケーションが行えます。
エフェクト・アバター切替など様々な機能をお楽しみいただけます。 -
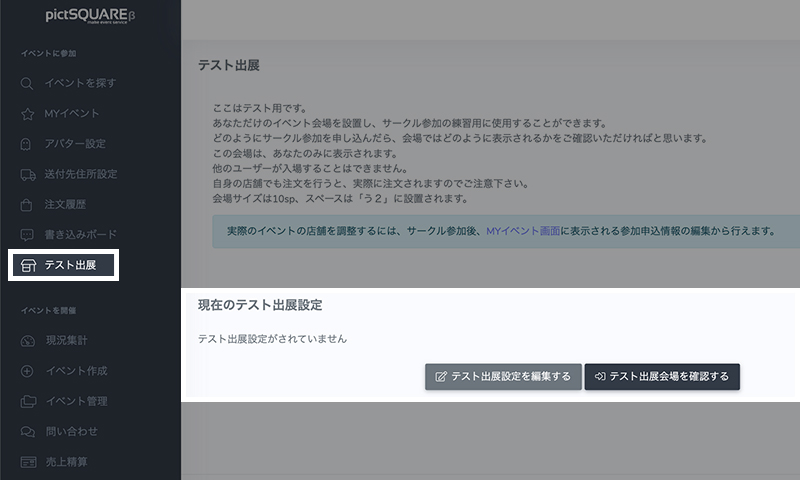
 テスト出展
テスト出展自店舗の外観や通販の設定を事前に確認することができます。テスト出展の内容は、他のユーザーには見えません。
また本番のイベント参加時は「時間外入場」機能を使うことで、イベントが始まる前に店舗の設定・確認をすることができます。
-
- STEP3 イベントの申し込み
-
-
-
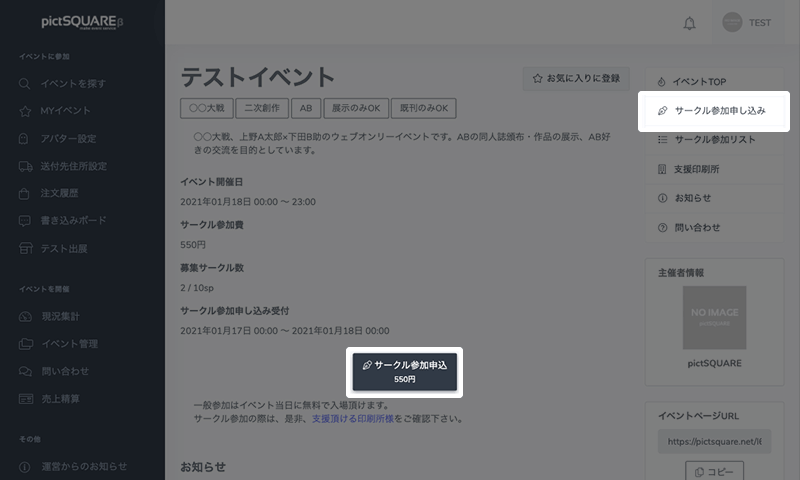
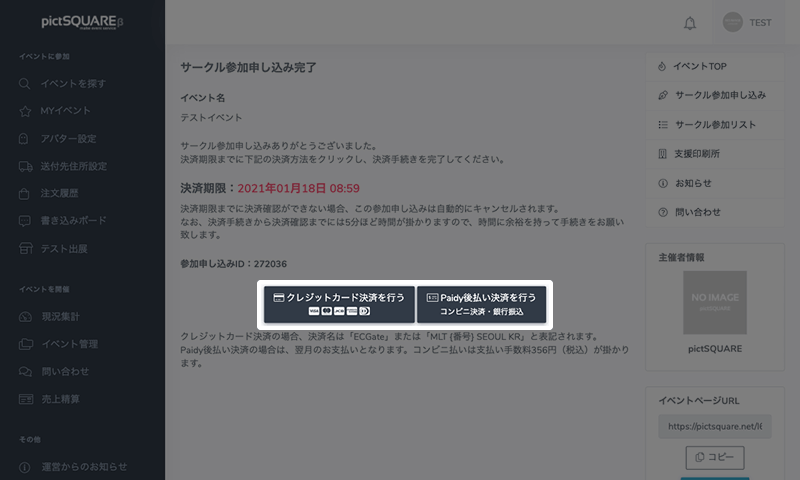
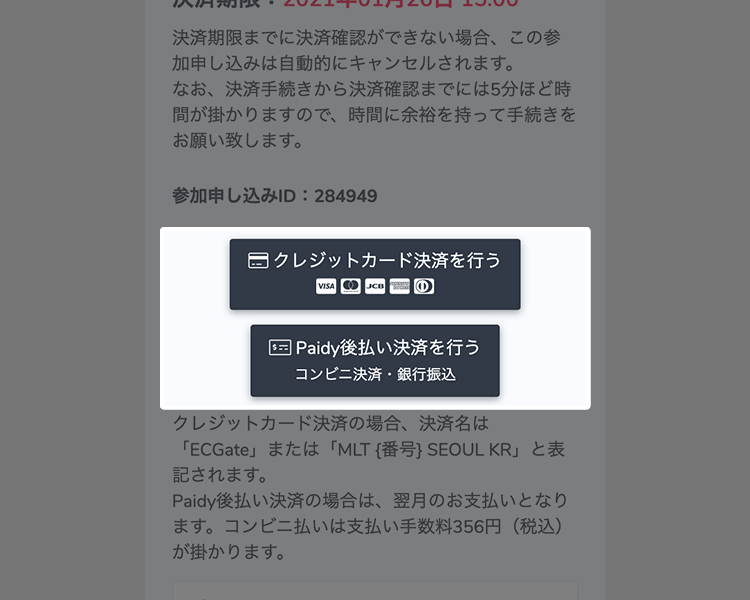
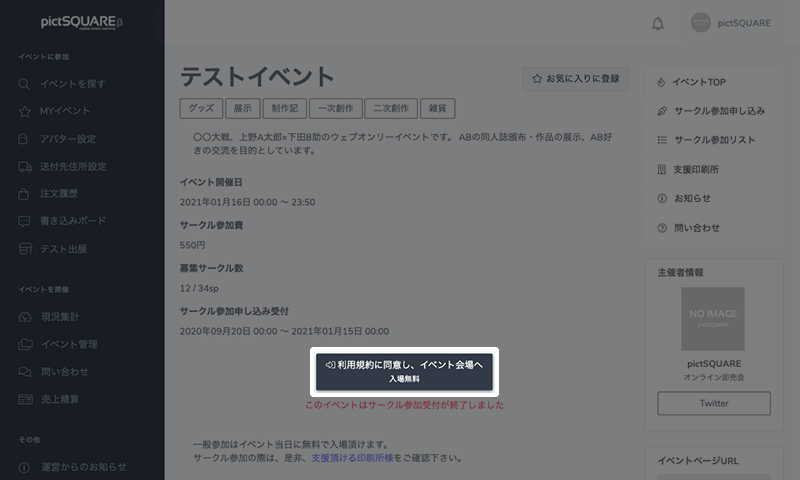
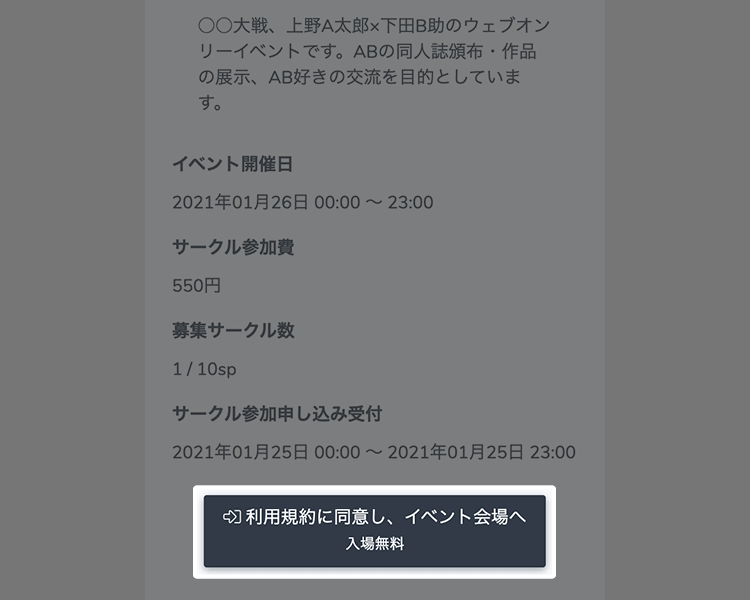
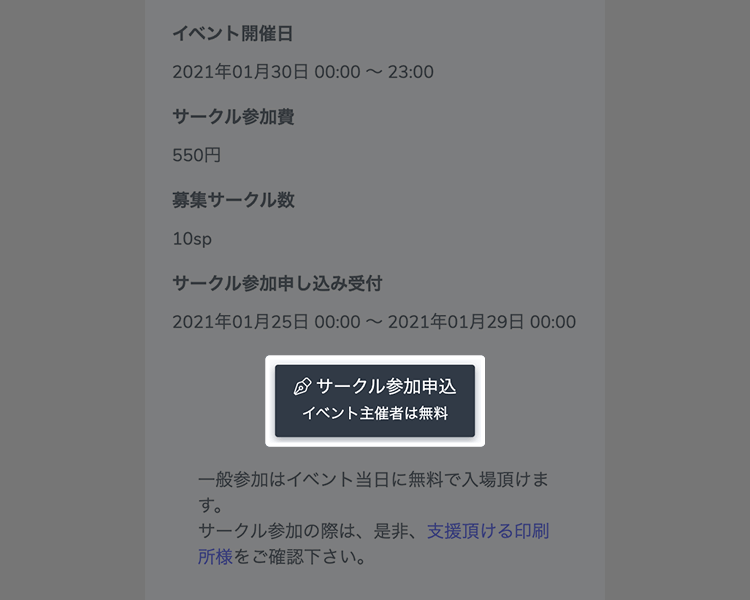 参加の申し込み
イベント詳細ページで内容やサークル参加費などをよく確認した上で「サークル参加申し込み」ボタンからサークル参加を申し込みます。
-

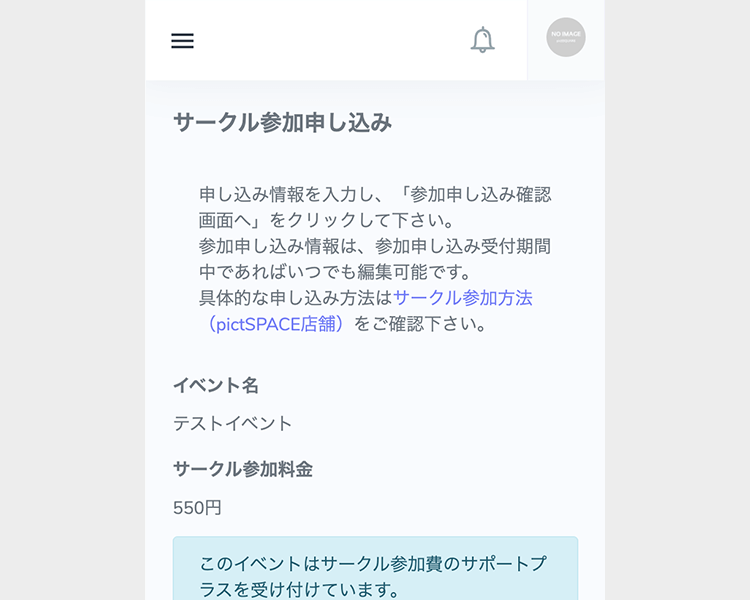 申し込み情報の入力
入力画面から、必要な情報を入力してください。
基本的な情報は以下の通りです。
・出展区分の選択
・サークル名
・サークル説明文
・店舗外観画像
・サークルカット画像
・お品書き画像 -
出展区分について
pictSPACE(通販サイト)を利用するか、その他通販サイトを利用するかによって出展区分が異なります。
詳しくは下記のヘルプサイトをご確認ください。 -
 サークルカットについて
「サークル参加リスト」とイベント会場のスペース看板に掲載されます。
この設定はいつでも変更が可能です。 -
-
-
- STEP4 イベント開催前の準備
-
-
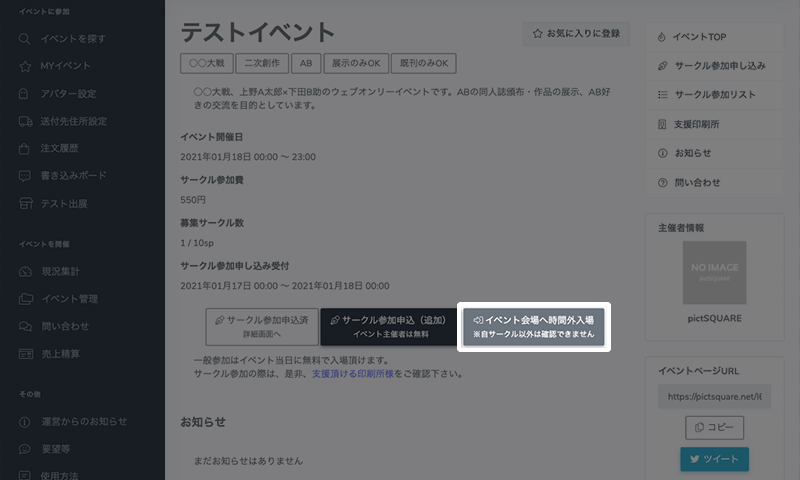
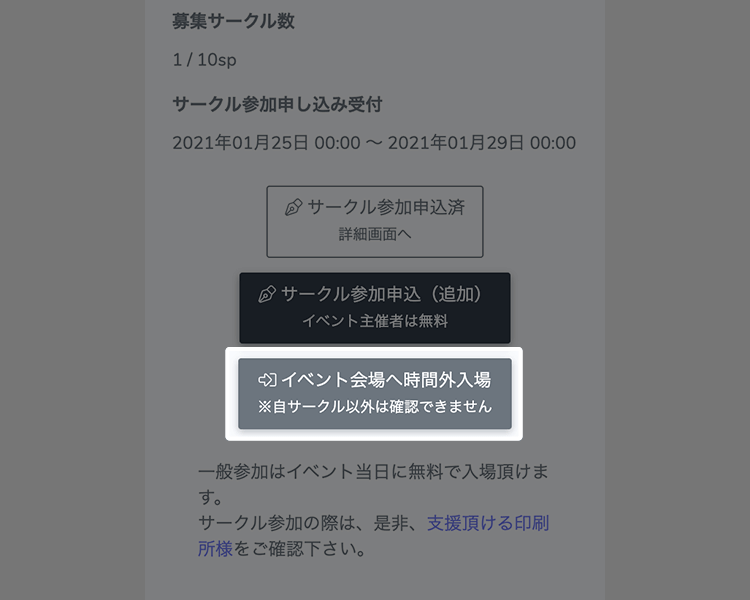 時間外入場
時間外入場サークル参加申し込み後は、イベント開始前に事前準備として「時間外入場」をすることが可能です。あらかじめ自店舗の外観や、通販の設定を確認しましょう。
時間外入場は、参加申込み後からイベント開始時までいつでも入場可能です。他の店舗の頒布物を確認することはできません -
 店舗の設定
店舗の設定よりお客さんに見てもらうために、「店舗外観画像」「サークルカット」「お品書き」などが設定されていない場合は設定してみましょう。
店舗の設定は、MYイベント>該当のイベントの「参加申込詳細」から編集可能です。 -
-
 告知
告知イベントページの「サークル参加リスト」から自分のサークル配置場所などを確認し、SNSなどで告知しましょう!
-
- STEP5 イベント当日
-
-
当日はイベントページより会場に入室ができます。操作方法などはヘルプをご確認ください。
-
自店舗の確認
自分の店舗がきちんと表示されているか確認しましょう。
イベント開催中でも設定の変更は可能ですが、入室中の相手には反映されないためご注意ください。自店舗では自分の名前が他の人から見て青く表示されます。
店舗の設定は、MYイベント>該当のイベントの「参加申込詳細」から編集可能です。 -
-
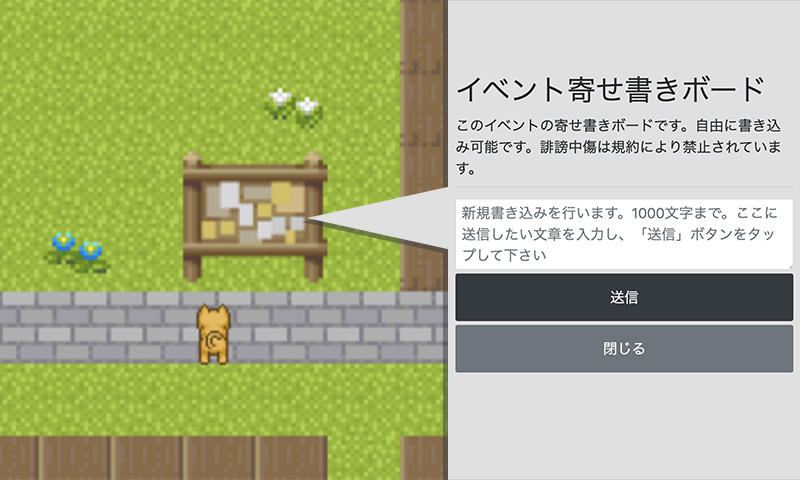 イベント寄せ書きボードの利用
イベント全体の掲示板となります。
寄せ書きなどに是非ご利用下さい。
会場に設置されていれば、誰でも書き込み・閲覧可能となります。書き込みはイベント開場時間帯のみ行うことができます。
 イベントの終了
イベント終了時間になると、頒布物の購入や掲示板の書き込み、会場への再入場ができなくなります。
書き込みボードはイベント終了後も、管理画面からも確認できます。- STEP6 イベント後
-
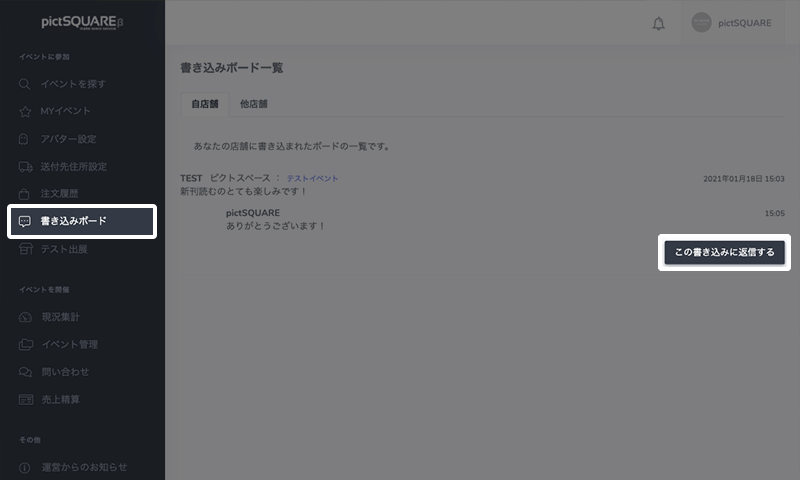
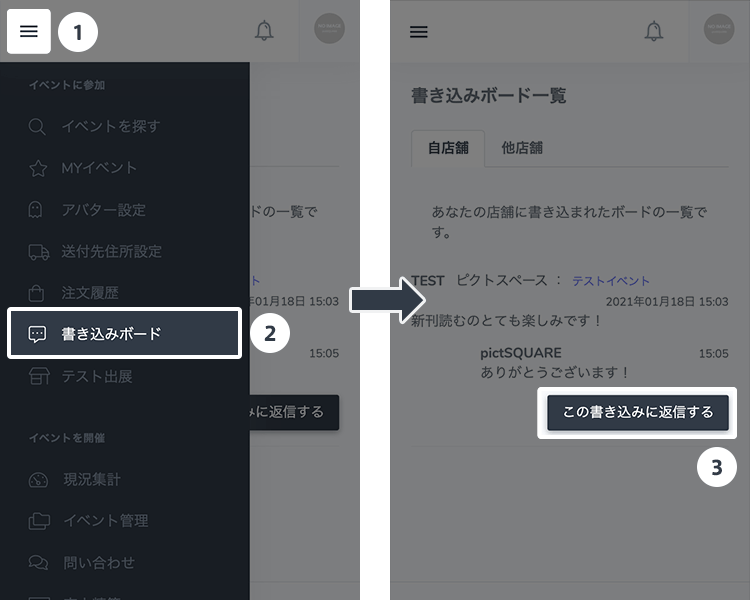 書き込みボードの確認
「書き込みボード」から自分の店舗に書き込まれた内容などを確認できます。イベント終了後も返信ができるので必要に応じて返信をしましょう。
自店舗宛の書き込みにのみ返信が可能です
イベントに参加して、頒布物を購入したい方はこちらをご確認ください。
一般参加者は、現在すべてのイベントに無料でご参加いただけます。- STEP1 会員登録
-
-
- STEP2 イベントを探す
-
-
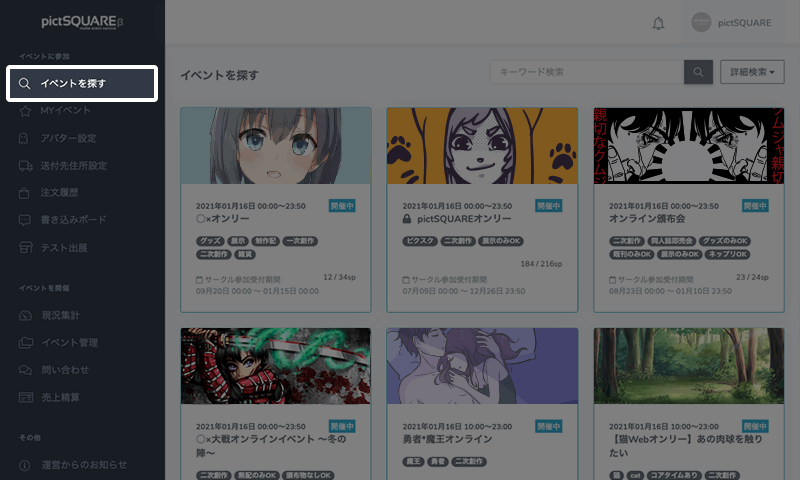
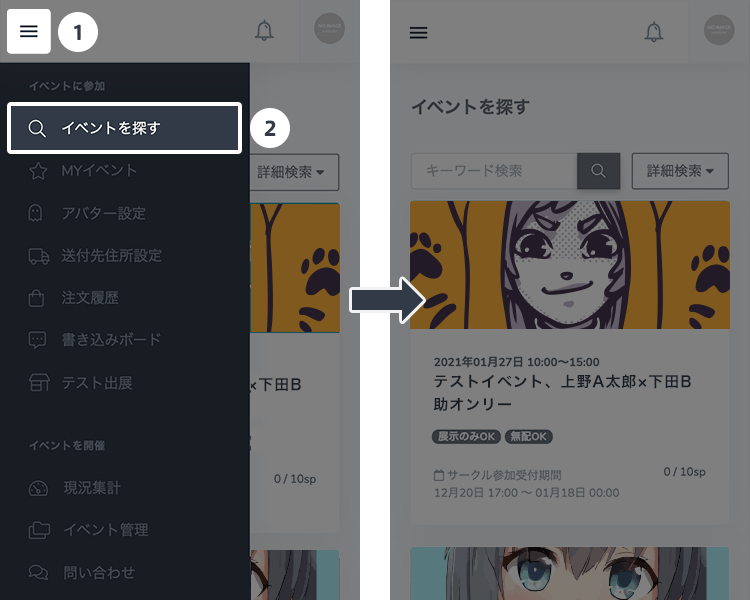
参加イベントを探す
ダッシュボードの「イベントを探す」から、参加したいイベントを探しましょう。
イベントは「pictSQUARE」のトップページからも探すことができます。気になるイベントは「お気に入りに登録」をすると後から確認できます -
 参加するイベントが決まっている場合
SNSなどの情報から、あらかじめ参加したいイベントが決まっている場合は、直接イベントの詳細ページをご確認ください。
-
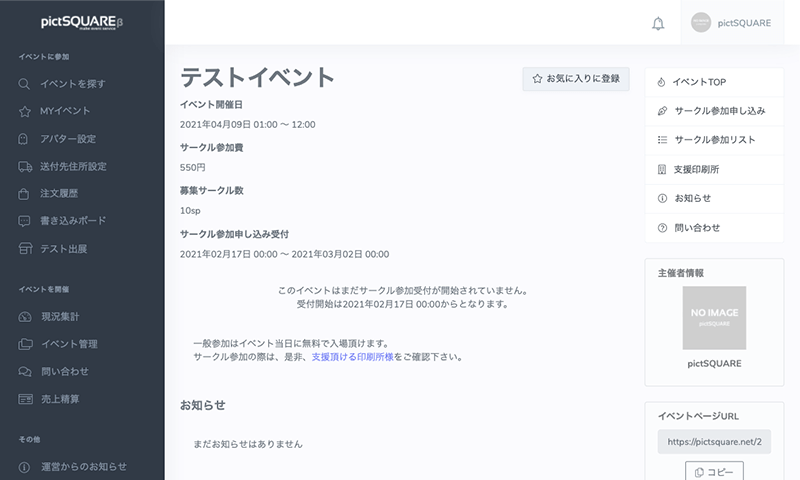
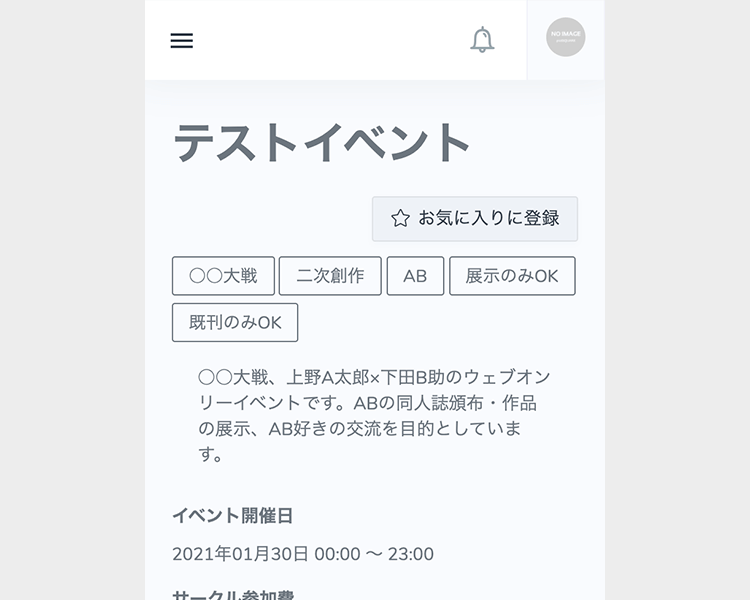 イベントの詳細を確認する
イベント詳細ページから、開催日時、サークル参加リストなどを事前に確認しておきましょう。
-
- STEP3 イベントに参加する
-
-
イベント会場に入場する
イベントの開催日時になったら、イベントの詳細ページから会場に入場します。
会期中はいつでも、何度でも入退場できます。 -
-
会場内を見て回る
イベント会場では、各サークル(店舗)でお品書きを確認したり、頒布物の購入・コミュニケーションが行えます。
エフェクト・アバター切替など様々な機能をお楽しみいただけます。 -
-
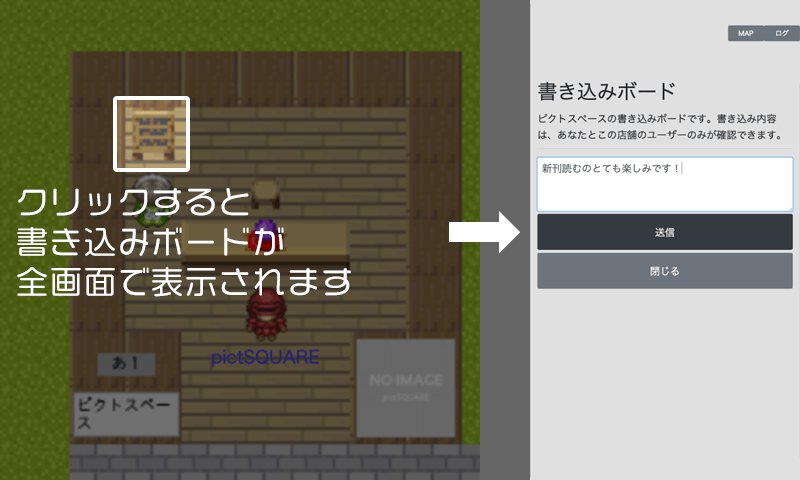
書き込みボード(掲示板)の利用
書き込みボードに、サークル主宛のメッセージを残すことができます。メッセージは当事者同士だけで確認が可能です。
サークル主からの返事は確認のみで返信はできません -
イベント寄せ書きボードの利用
イベント全体の掲示板となります。
寄せ書きなどに是非ご利用下さい。
会場に設置されていれば、誰でも書き込み・閲覧可能となります。書き込みはイベント開場時間帯のみ行うことができます。イベントの終了イベント終了時間になると、頒布物の購入、掲示板の書き込み、会場への再入場ができなくなります。購入した頒布物は後日通販で届きます。
新たにイベントを開催したい方はこちらをご確認ください。- STEP1 会員登録
-
-
- STEP2 イベントページを作る
-
-
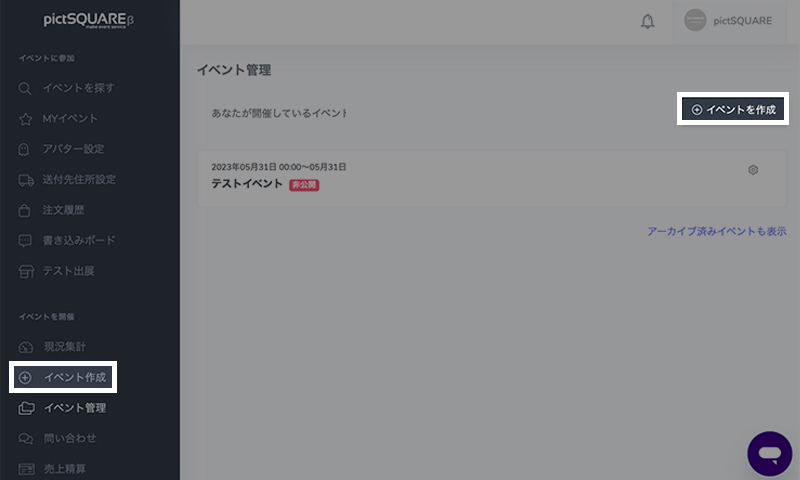
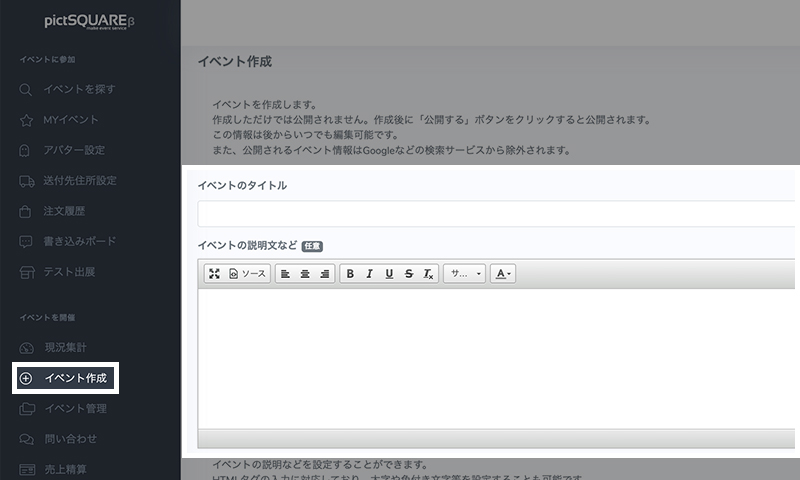
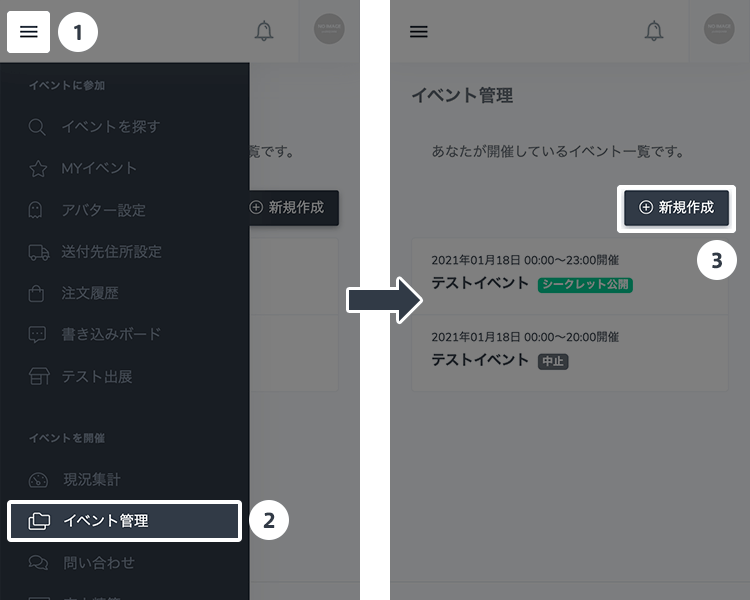 イベントを作成する
ダッシュボードの「イベントを開催」カテゴリ内の「イベント管理」から「イベントを作成」ボタンを押します。
「イベント管理」には過去に主催したイベントの情報なども記載されます。 -
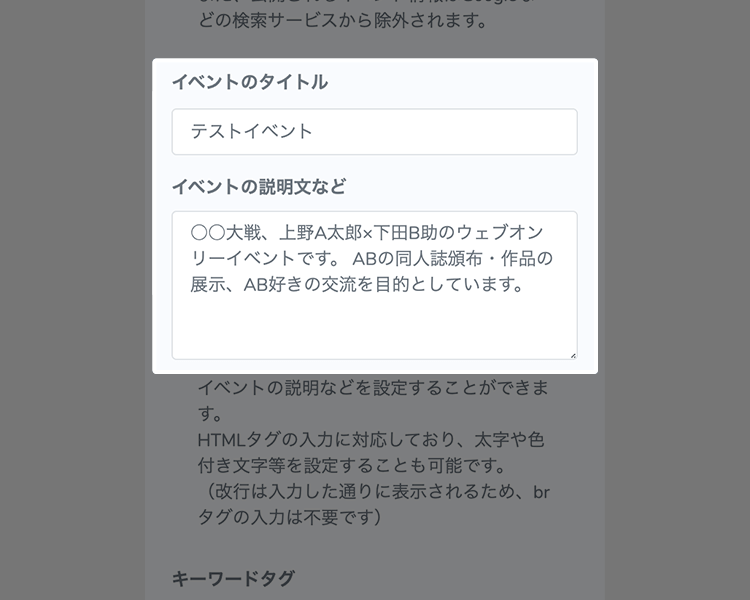 イベントタイトルと説明文を記入する
イベントのタイトルと、イベントの説明文を記入します。内容は後から変更することも可能です。
イベントの説明文右上のテンプレートから雛形を利用し、簡単に説明文を作成することも可能です。 -
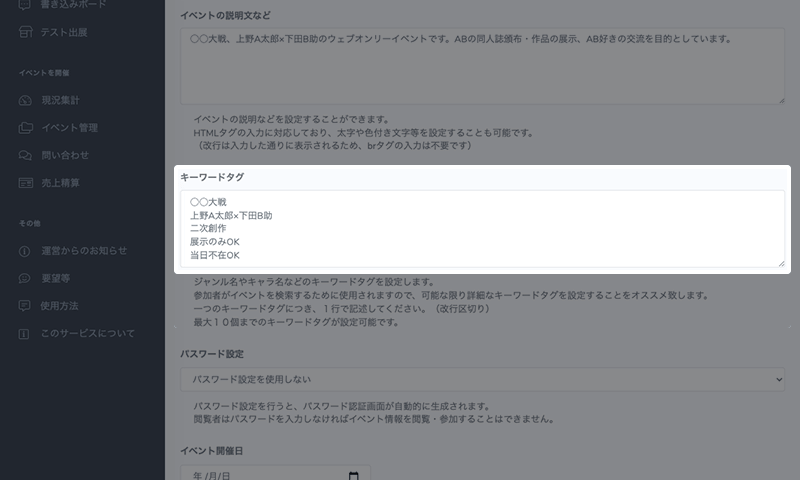
 キーワードタグを設定する
ジャンル名やキャラ名などのキーワードタグを設定します。参加者がイベントを検索する際に使用しますので、可能な限り詳細なキーワードタグを設定しましょう。
「展示のみOK」「当日不在OK」などのタグもあわせて設定すると、サークル参加者が参加しやすくなります -
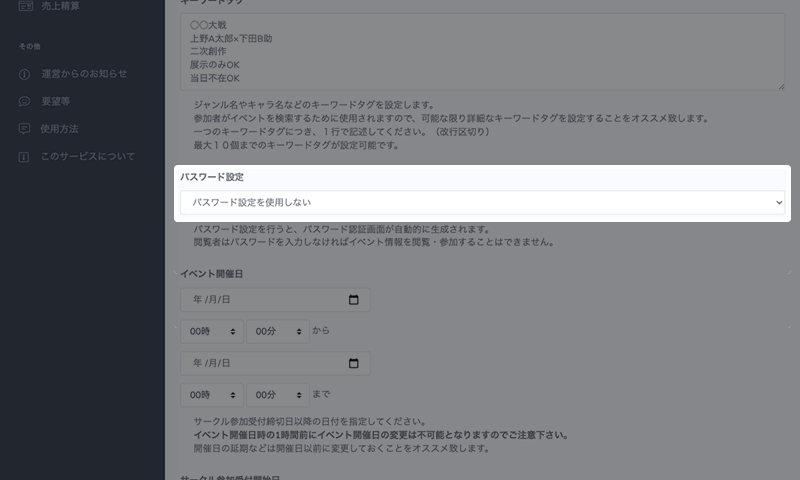
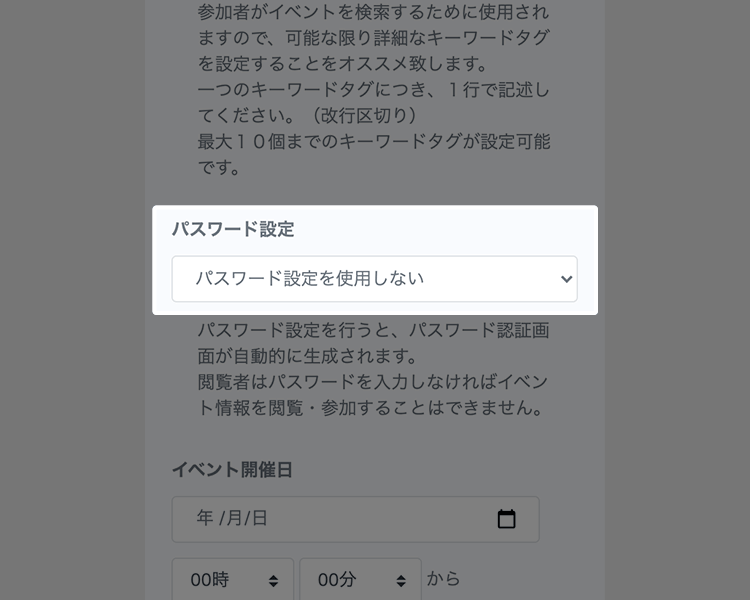 パスワード設定の有無を決める
パスワード設定を行うと、パスワード認証画面が自動的に生成されます。閲覧者はパスワードを入力しなければイベント情報を閲覧・参加することができなくなります。
パスワードを設定しない場合、全てのユーザーがイベント情報を閲覧・参加することができます。 -
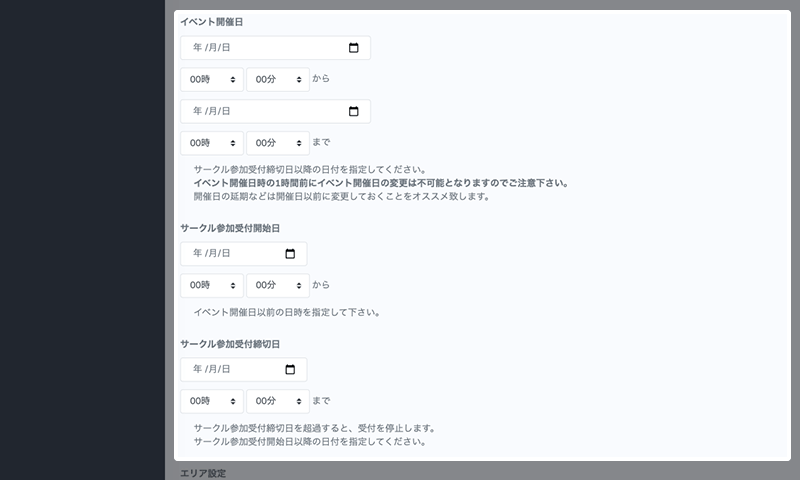
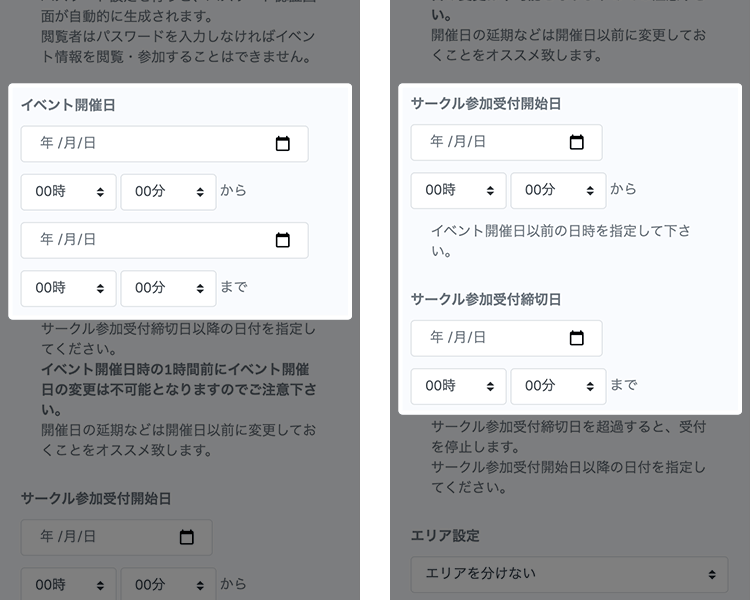 イベント開催日時とサークルの受付期間を設定する
イベントの開催日時を入力します。開催日は、サークル参加受付締切日以降の日付を指定してください。
次にサークル受付開始日と締切日を設定します。サークル参加受付締切日を超過すると、受付を自動で停止します。イベントの開催時間は168時間以内(7日間)の設定が可能です -
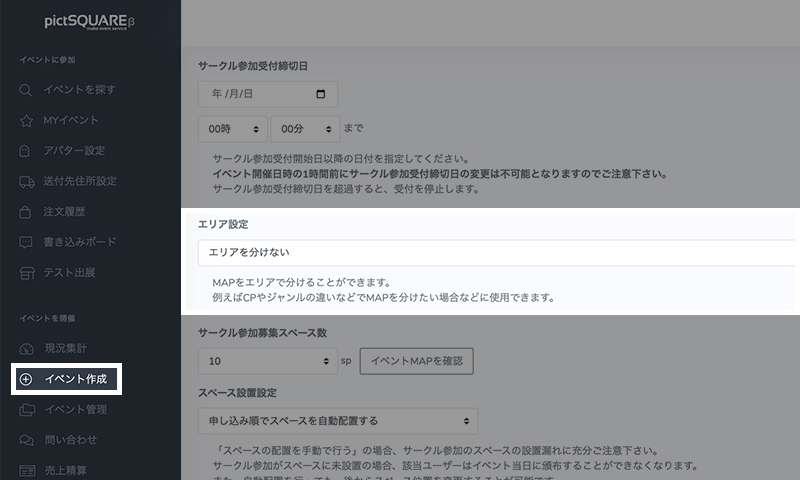
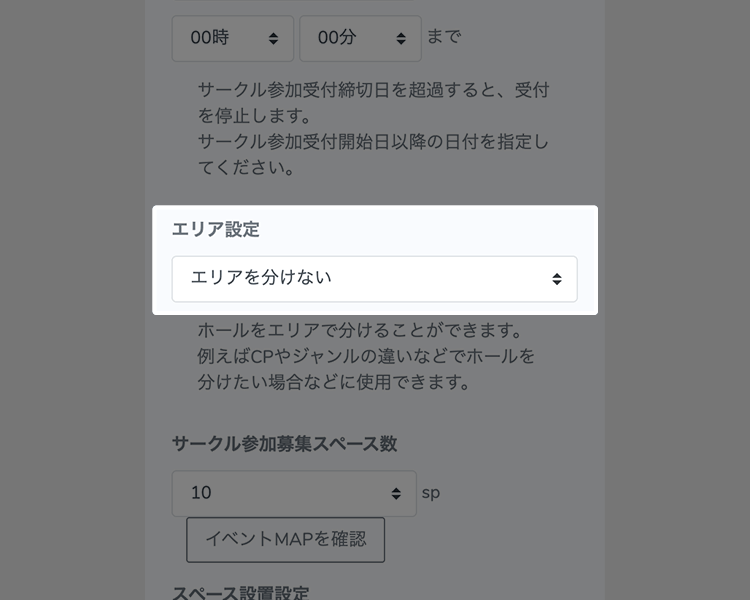 エリア分けの設定を決める
イベントホールをエリアで分けることができます。CPやジャンルごとにエリアを分けたい場合にご利用ください。
エリアを分けずに1つのホールで実施する場合は”エリアを分けない”をお選びください。 -
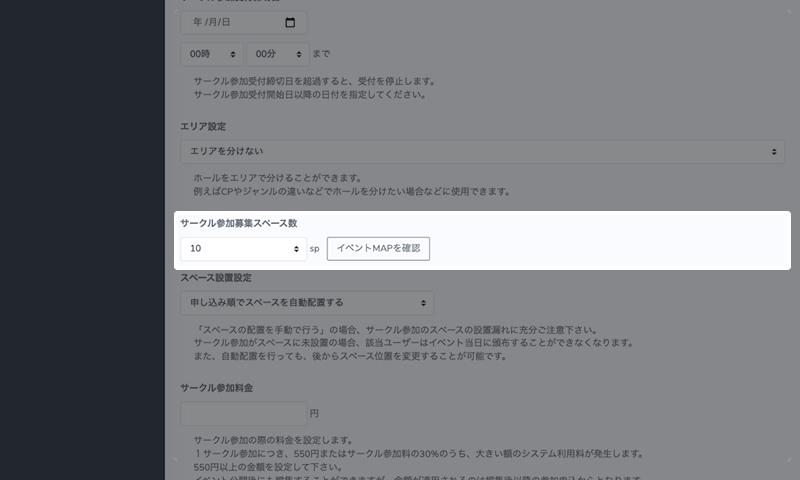
 サークル参加募集スペース数を決める
1エリア最大100スペースまで配置することができます。エリアを複数に分ける場合は、エリアごとにスペース数を設定することができます。(1エリア最大100SP)
エリア数に上限はありません。 -
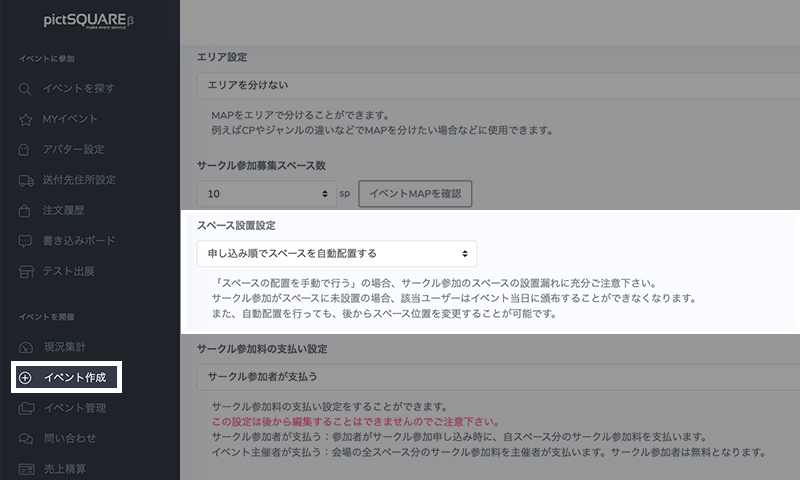
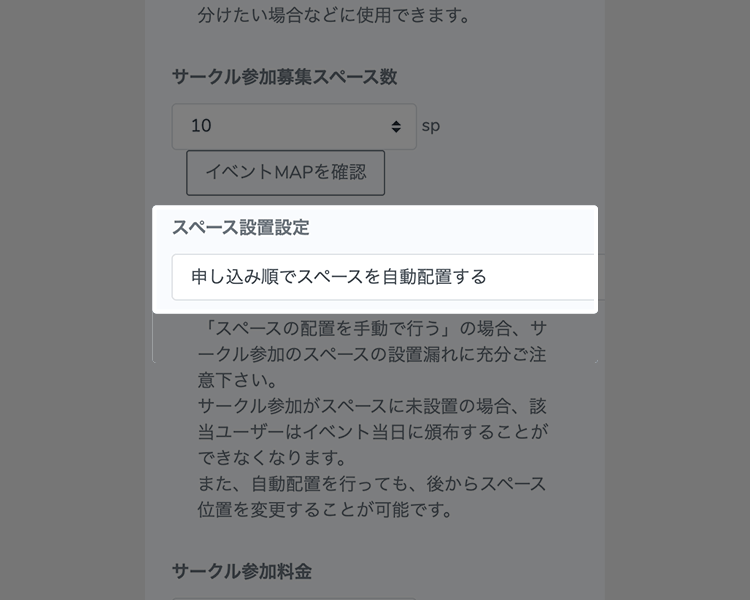 スペース設置設定を選ぶ
サークル申し込みがあった場合に、自動でスペースを割り当てるか、主催者自身が手動でスペースを割り当てるか選ぶことができます。
「スペースの配置を手動で行う」の場合、サークル参加のスペースの設置漏れに充分ご注意下さい。サークルがスペースに未設置の場合、該当ユーザーはイベント当日に頒布することができなくなります。自動配置を行っても、後からスペース位置を変更することが可能です。 -
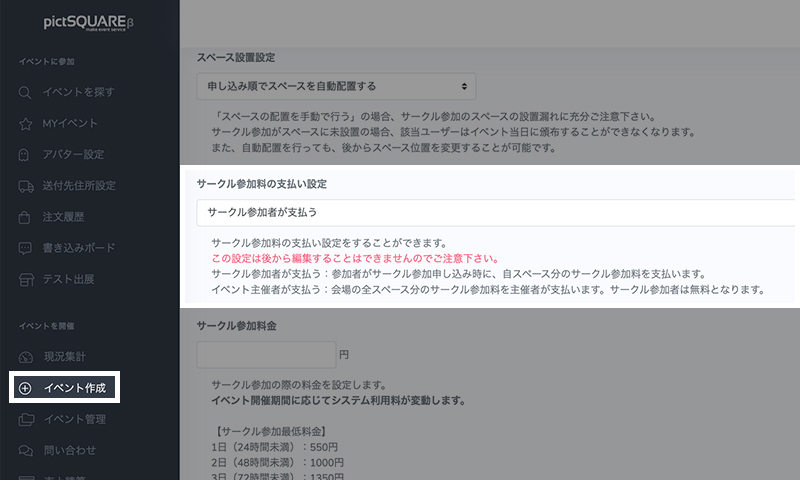 サークル参加料の支払い設定を決める
サークル参加の際の料金を支払うユーザーを設定します。
サークル参加者が支払う設定の場合は、参加者がサークル参加申込時に、自スペース分のサークル参加料を支払います。
イベント主催者が支払う設定の場合は、会場の全スペース分のサークル参加料を主催者が支払うことが可能です。 -
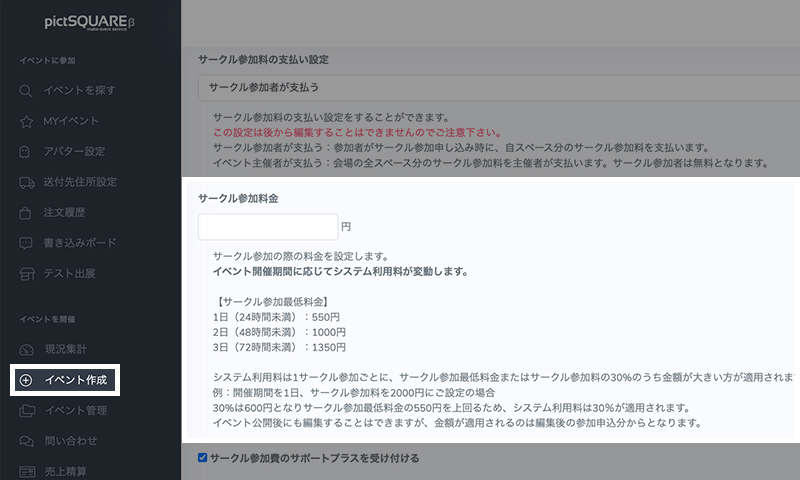
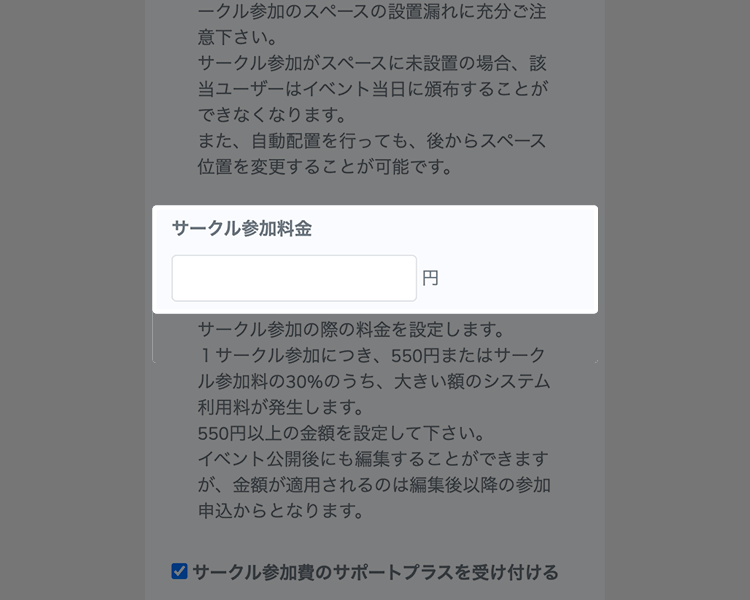 サークル参加料金を決める
サークル参加の際の料金を設定します。
1サークル参加につき、イベント開催期間に応じたサークル参加料(24時間未満:550円、48時間未満:1000円、72時間未満:1350円、168時間未満:1800円)又はサークル参加料の30%の大きい額のシステム利用料が発生します。例)サークル参加料金が1,000円の場合、そのうちの30%は300円のため、システム利用料は550円かかります。全サークルの参加費からシステム利用料を引いた金額が、主催者あてに支払われます。 -
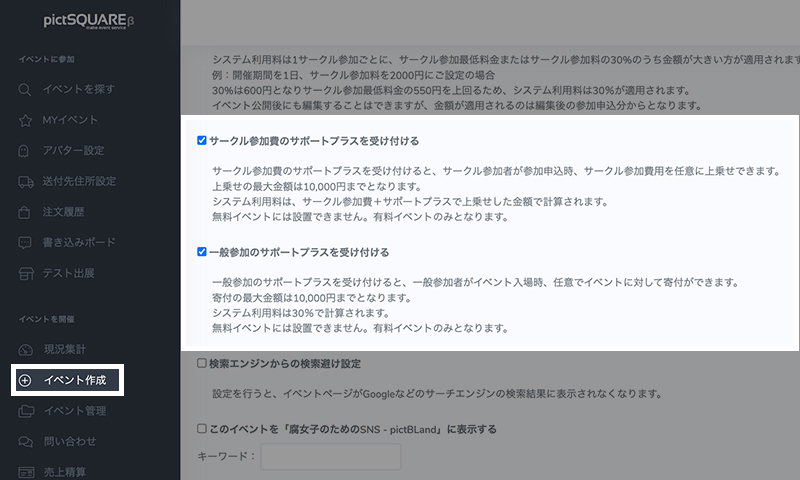
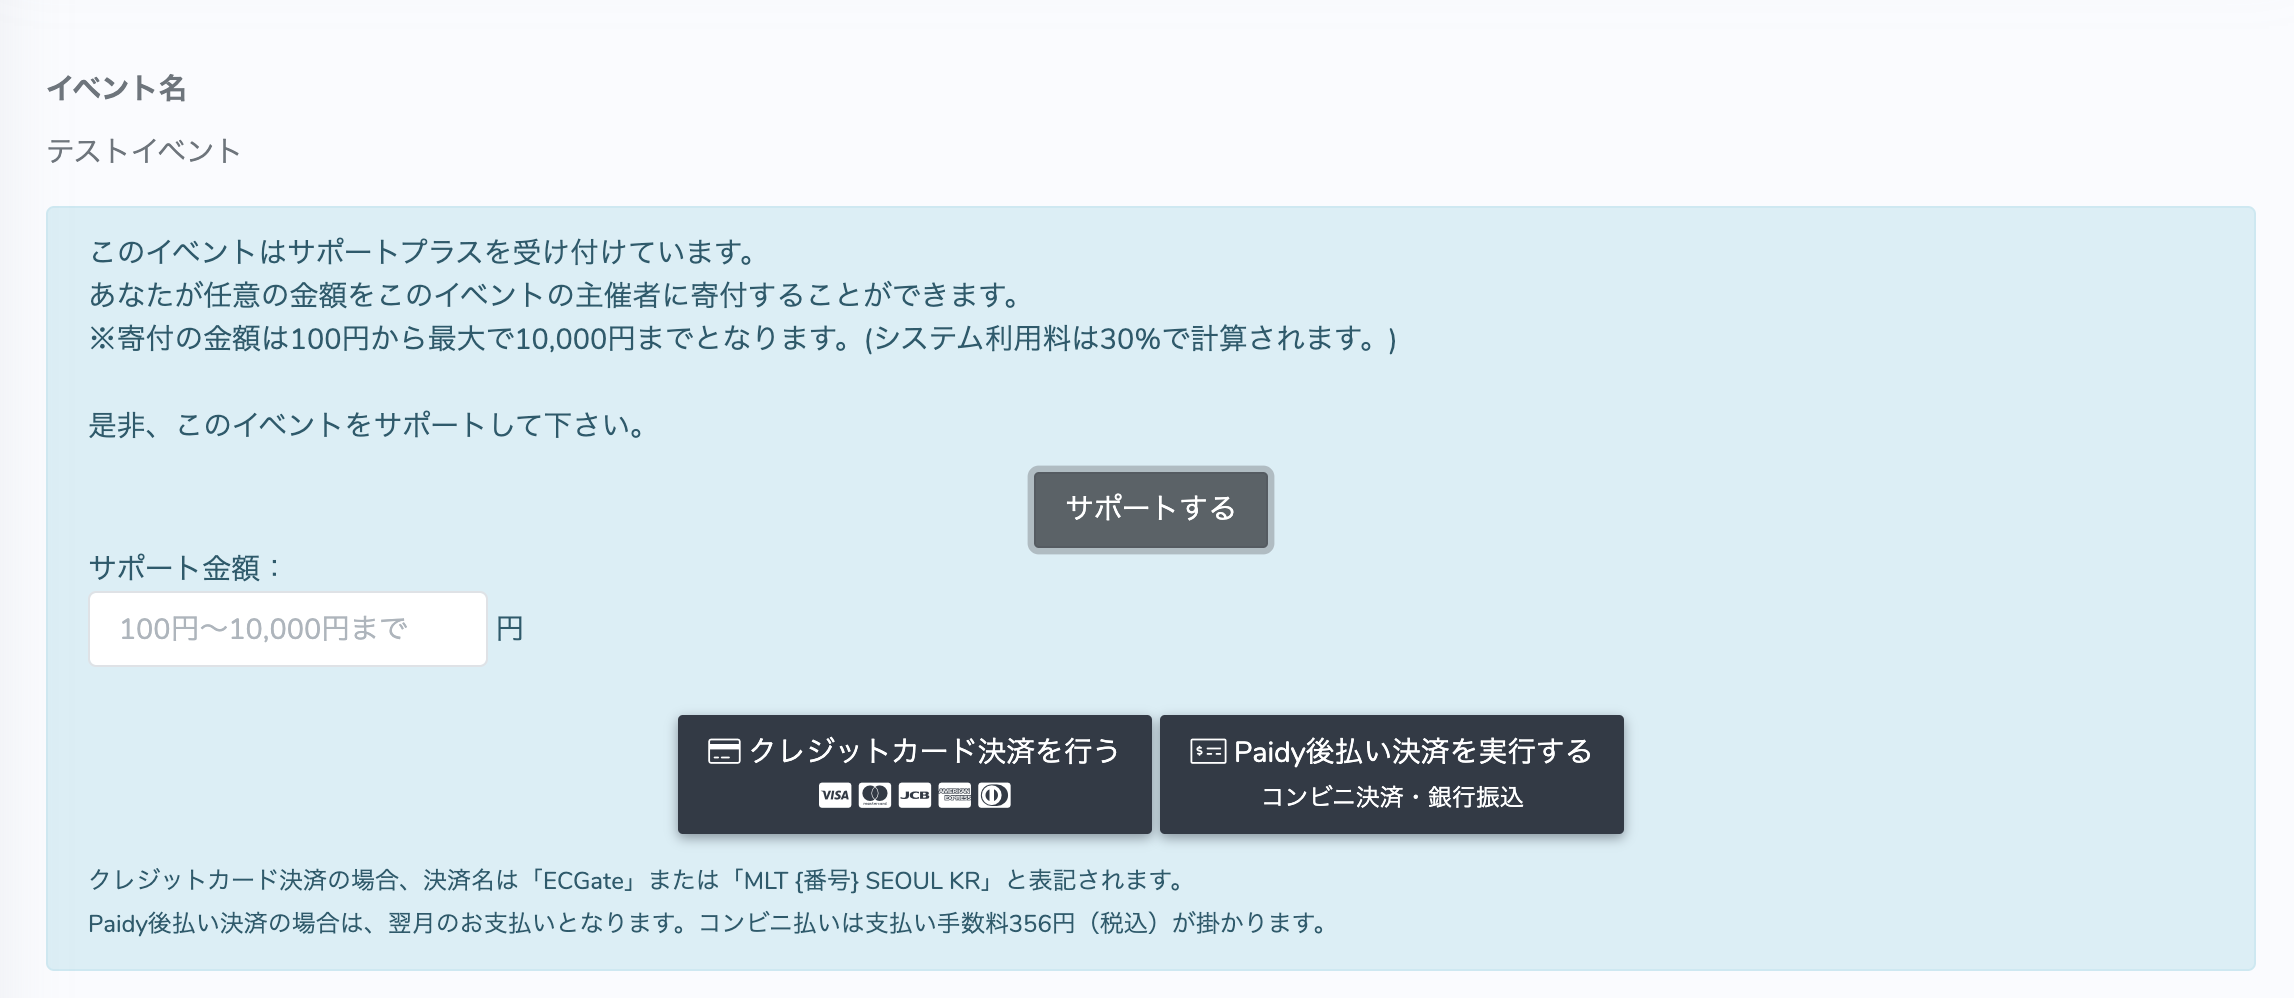
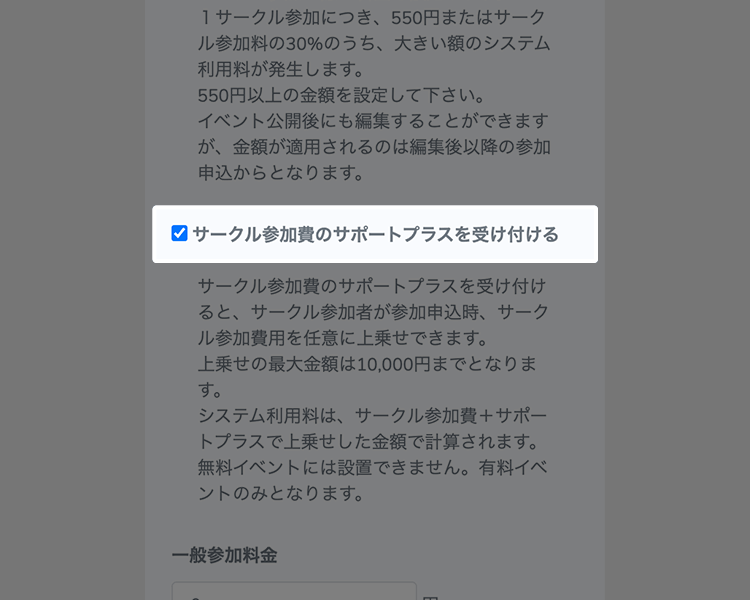 サポートプラスの設定
設定をするとイベントに対して、参加者からの寄付が受け付けられる機能です。
サークル参加者は申込時にサークル参加費用を任意に上乗せすることで利用できます。一般参加者は、イベント入場時に任意に寄付を行うことで利用できます。 -
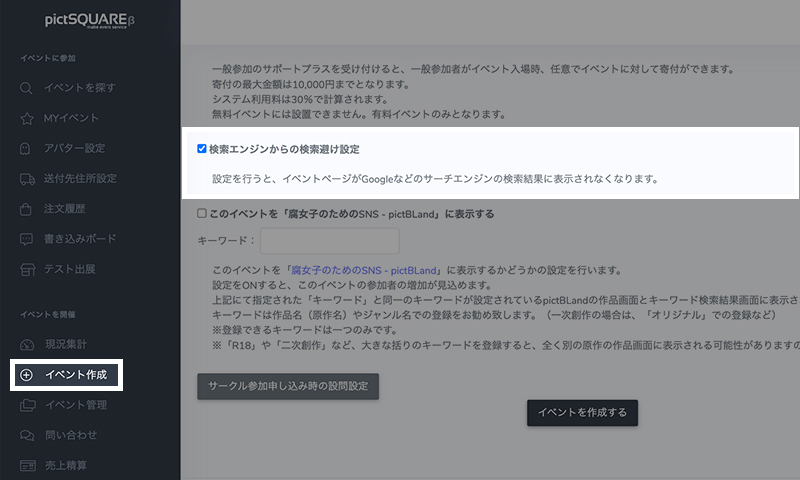 検索エンジンからの検索避け設定
イベントページをGoogleなどのサーチエンジンの検索結果に表示するかの設定ができます。
設定を行うとpictSQUARE内でのみ公開されます -
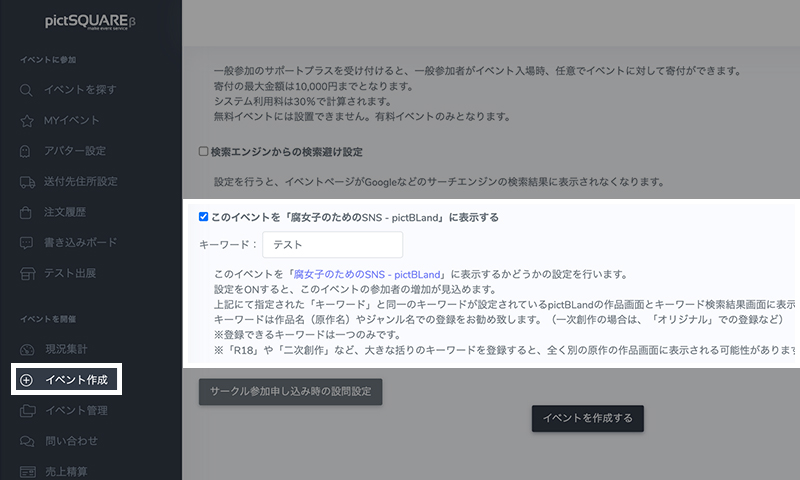 イベントを「腐女子の為のSNS - pictBLand」に表示する設定
イベントを「腐女子の為のSNS - pictBLand」に表示するかどうかの設定ができます。
設定を行うと集客が見込めます -

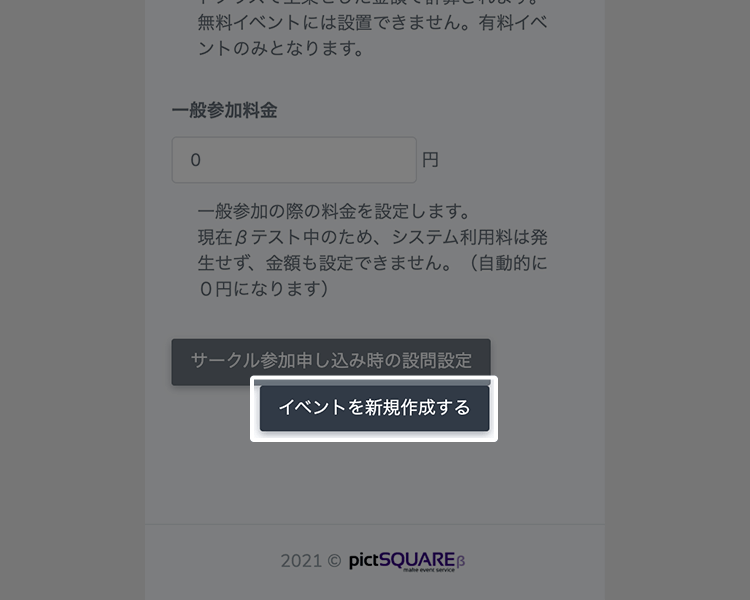 イベントを作成するボタンを押す
必要事項を入力し終わったら、最下部の「イベントを作成する」ボタンを押して完了です。
この時点では外部には公開されません
-
- STEP3 イベントの公開と告知
-
-
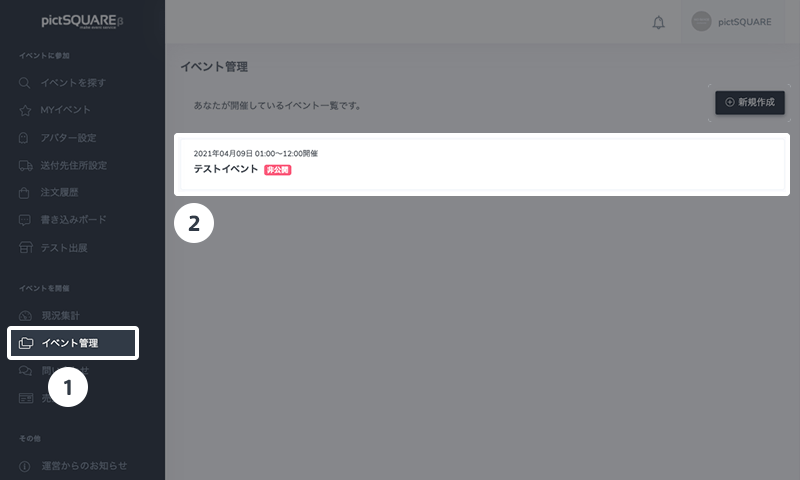
 イベントの公開方法を設定
ダッシュボード内の「イベント管理」から、STEP2で作成したイベントの詳細ページに遷移します。
-
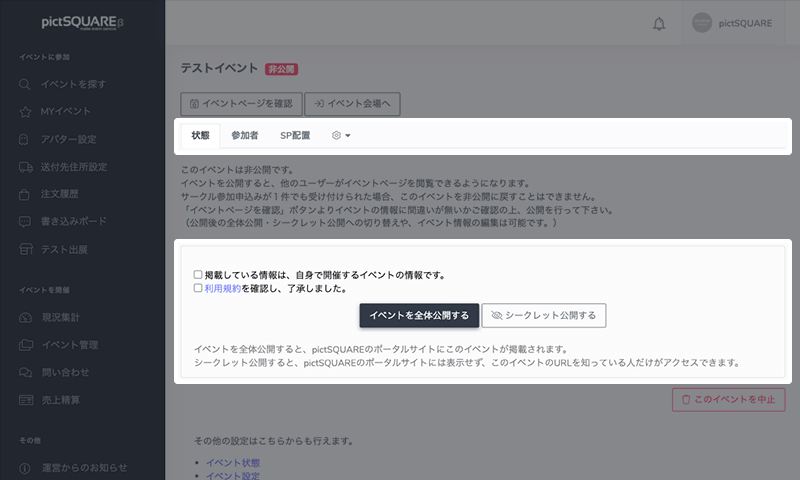
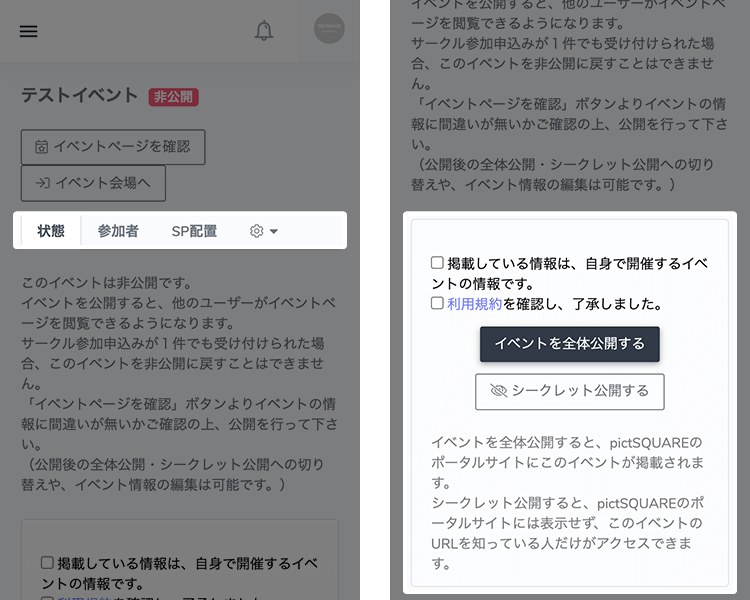 イベントの公開方法を確認
「状態」タブ内から確認のチェックボックスにチェックを入れ、「イベントを全体公開する」または「シークレット公開する」を選びます。
イベントを全体公開すると、ポータルサイトにこのイベントが掲載されます。
シークレット公開をすると、ポータルサイトには表示されず、このイベントのURLを知っている人だけがイベントページにアクセスできます。 -
イベントの告知をする
イベントページを公開したら、SNSなどで告知を行いましょう。そのイベントを象徴するイメージイラストなどがあると、より集客に効果的です。
-
-
-
pictSQUAREについて
pictSQUAREは、新型コロナウィルスによる各種イベントの中止・延期を受け、
「仮想空間で同人即売会を行えないか」
という発想から開発がスタートされました。
現在β版での提供であり、至らない点も沢山ございます。
pictSQUAREでは、よりよいサービスの提供に向けて、
みなさまとの対話が必要であると考えています。
要望フォームや公式Xなど、
みなさまと運営が直接対話できる窓口を設けていますので、
ご意見・ご感想をお聞かせ頂ければ幸いです。